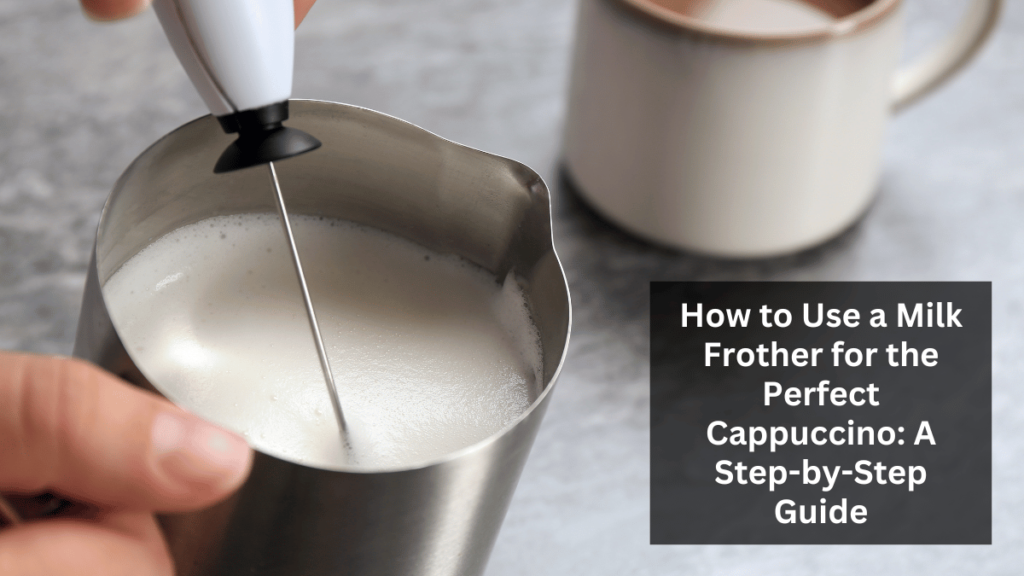
Creating the perfect cappuccino at home is an art; a milk frother is your essential tool to achieve that velvety texture. In this guide, we’ll explore using a milk frother effectively to craft a cappuccino that rivals any café creation.
Understanding the Essentials: What Is a Milk Frother?
A milk frother is made to aerate milk, creating a light and frothy texture perfect for cappuccinos and other espresso-based beverages. The frother works by rapidly whisking or steaming the milk, introducing air, and producing a creamy foam that adds richness and depth to your coffee.
Types of Milk Frothers
There are several types of milk frothers available, each offering unique benefits:
- Handheld Frothers: Portable and easy to use, these frothers are battery-operated and work well for small quantities of milk.
- Electric Frothers: These are more advanced and can heat and froth milk simultaneously, providing consistent results with minimal effort.
- Steam Wands: Found on espresso machines, steam wands offer the most control, allowing you to achieve a barista-quality froth.
The Importance of Milk Temperature
Milk temperature plays a crucial role in creating the perfect foam. Ideally, milk should be heated to around 150°F (65°C). This ensures that it is warm enough to blend well with espresso while also preserving its sweetness and avoiding a burnt taste.
Using a Thermometer
For precise control, consider using a milk thermometer to monitor the temperature. If you don’t have a thermometer, aim for milk that is warm to the touch but not scalding.
Step-by-Step Guide to Using a Milk Frother
Achieving the perfect cappuccino requires the proper technique. Here’s how to do it:
1. Choose Your Milk
Whole milk is often recommended for cappuccinos because of its higher fat content, which creates a rich and creamy foam. However, alternatives like almond, soy, or oat milk can be frothed effectively.
2. Heat the Milk
Gently heat your milk to the optimal temperature. If you’re using an electric frother, it may heat the milk for you. Otherwise, warm the milk on the stove or microwave, ensuring it doesn’t boil.
3. Froth the Milk
For handheld frothers, immerse the whisk into the milk and turn it on. Move the frother up and down in the milk to introduce air, creating a light foam. For steam wands, submerge the tip just below the surface and slowly raise it as the milk expands, keeping the wand at an angle to create a whirlpool effect.
4. Tap and Swirl
Once frothed, tap the milk container on the counter to remove large air bubbles. Then, swirl the milk to integrate the foam and liquid, creating a smooth and silky texture.
5. Pour the Milk
Pour the frothed milk into your espresso, beginning with the liquid milk and finishing with the foam. Aim for equal parts espresso, steamed milk, and foam for a classic cappuccino.
Tips for Perfecting Your Cappuccino
Practice Makes Perfect
Like any skill, frothing milk takes practice. Keep going even if your first few attempts aren’t perfect. Experiment with different types of milk and frothers to find what works best for you.
Cleaning Your Frother
Regular cleaning of your milk frother is essential for maintaining its performance. After each use, wash the frother according to the manufacturer’s instructions to prevent milk residue from building up.
Experiment with Flavors
Once you’ve mastered the basics, add flavored syrups or spices like cinnamon or cocoa to your cappuccino for a personalized touch.
Common Mistakes to Avoid
Overheating the Milk
Overheated milk loses its sweetness and can develop a burnt flavor. Monitor the temperature to ensure you don’t stay within the optimal range.
Too Much Foam
While saliva is essential for a cappuccino, too much foam can make the drink too airy. Aim for a balanced texture with just the right amount of foam.
The Role of Milk Fat Content
The fat content in milk plays a significant role in the texture and taste of your cappuccino. With its higher fat content, whole milk creates a creamier and richer foam, which is ideal for a traditional cappuccino. If you prefer a lighter option, low-fat or skim milk can also be frothed, though the foam will be less dense. For those using plant-based milk, options like oat and soy milk tend to froth better due to their higher protein content, offering a satisfying alternative to dairy.
Mastering Latte Art
Once you’ve mastered the basics of frothing milk, try your hand at latte art. This popular coffee art technique involves pouring steamed milk into espresso to create intricate patterns or designs on the surface of a cappuccino. Start with simple designs like a heart or a tulip; as you gain confidence, you can experiment with more complex patterns. Latte art enhances the visual appeal of your cappuccino and reflects the quality and texture of the milk foam you’ve created, making it a fun and rewarding skill to develop.
The Importance of Freshness
Freshness is vital when it comes to making the perfect cappuccino. This applies not only to the coffee beans but also to the milk. Always use fresh milk, as older milk may not froth as well and can have a slightly off taste, affecting the overall quality of your cappuccino. Also, grind your coffee beans before brewing to ensure the most decadent flavor and aroma. The combination of fresh coffee and milk will elevate your cappuccino, giving you a café-quality experience at home, with a fuller, more vibrant taste in every sip.


